For Easter, we joined hands with the Nairobi Art Centre to give you and your kids a nice little activity to do over the upcoming Easter holidays. The lovely Miss Racheal showed us a step-by-step guide of how to make your own cuddly Easter bunny and it's super-simple. The little ones will enjoy the chance to polish their craftsmanship and also have plenty of fun while at it;
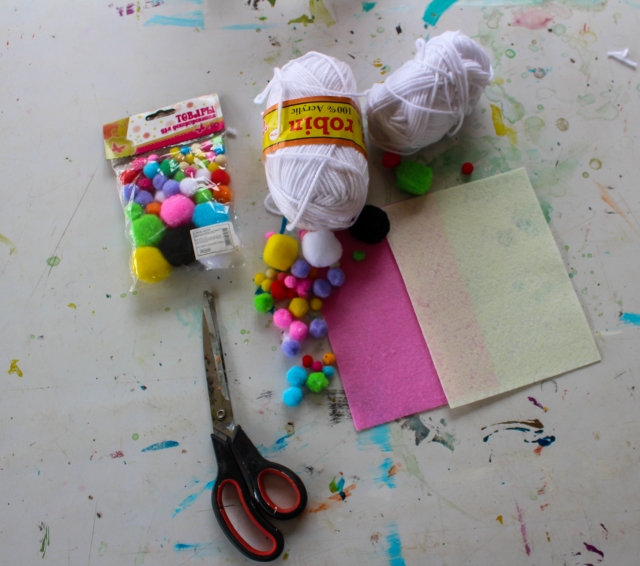
Materials:
- Thick acrylic yarn
- Pom poms
- Felting paper (alternative- plain paper)
- Glue gun with hot glue (alternative- Pritt liquid glue)
- A pair of scissors
Disclaimer: A high level of parental supervision
Method:
The Head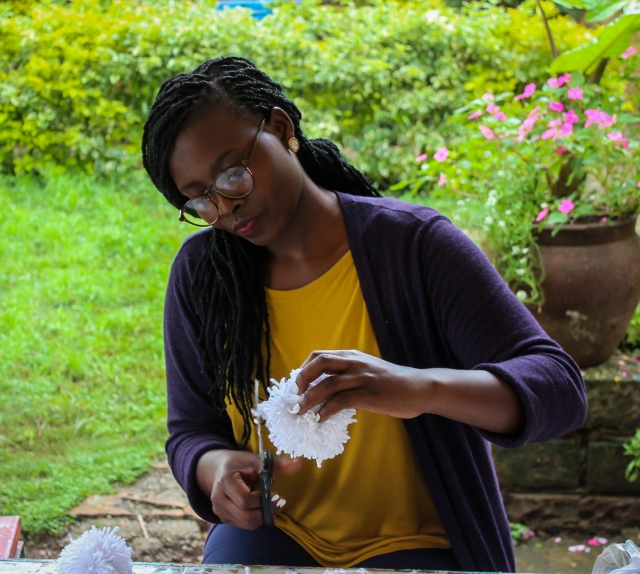
- Make a big pom pom ball; Using your hand (for kids preferably use a stick or ruler), roll the yarn round your hand/ruler until it forms a sizeable ball.
- Once the roll is formed, cut the hanging yarn, remove your hand/stick or ruler and tie a single piece of yarn around the ball with a tight knot.
- Using a pair of sharp scissors, shape it by cutting through the yarn to form sharp yarn spikes.
- Once the yarn-spiked ball is formed, trim the ball to make it appropriate enough to fit the head of the bunny.
The Body;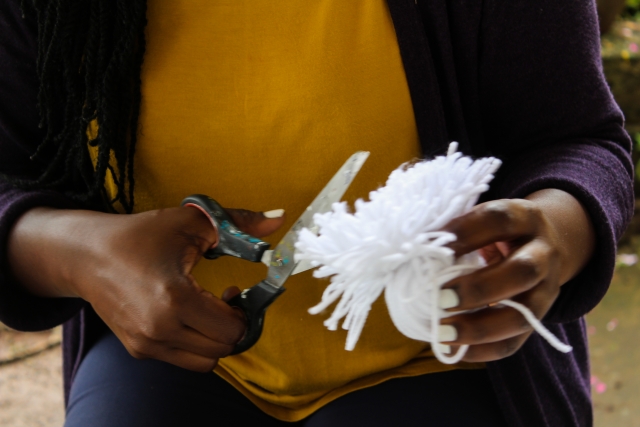
- Using the same method, make a big ball using your hand/ruler/stick by rolling the yarn through them. You can finish the remaining yarn to ensure the yarn ball formed is large enough- the more the ball, the bigger the size.
- Following the same procedure, remove your hand/stick or ruler and tie a single piece of yarn around the ball with a tight knot.
- Using your sharp pair of scissors cut through the yarn to form sharp yarn spikes.
- Once the yarn-spiked ball is formed, trim the ball but not too much to ensure it is sufficient to form the bunny's body.
Using your glue gun, stick the head and body together.The Ears;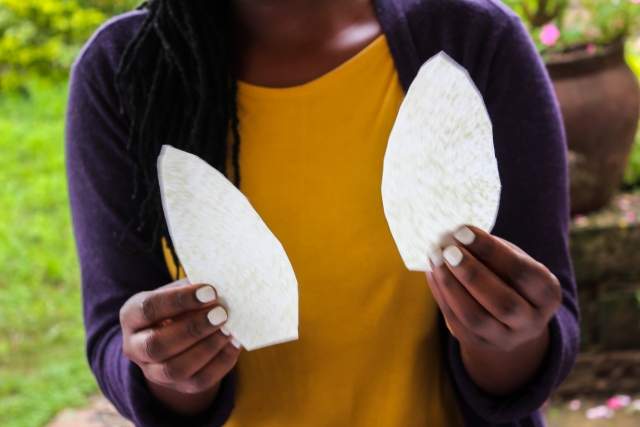
- Using your white felting paper or plain paper. Draw an outline of the bunny ear and cut through it.
- Using a ¼ of your pink felting paper or manila paper, fold it into half and cut through it to form a silhouette of the bigger ear.
- Take your Pritt glue and stick the pink cut out to the bigger white cut out.
- Take your glue gun- exercise caution while using it or take your Pritt glue and attach the ears to each side of the head. Hold it down to ensure it sticks well.
The Eyes and Tail;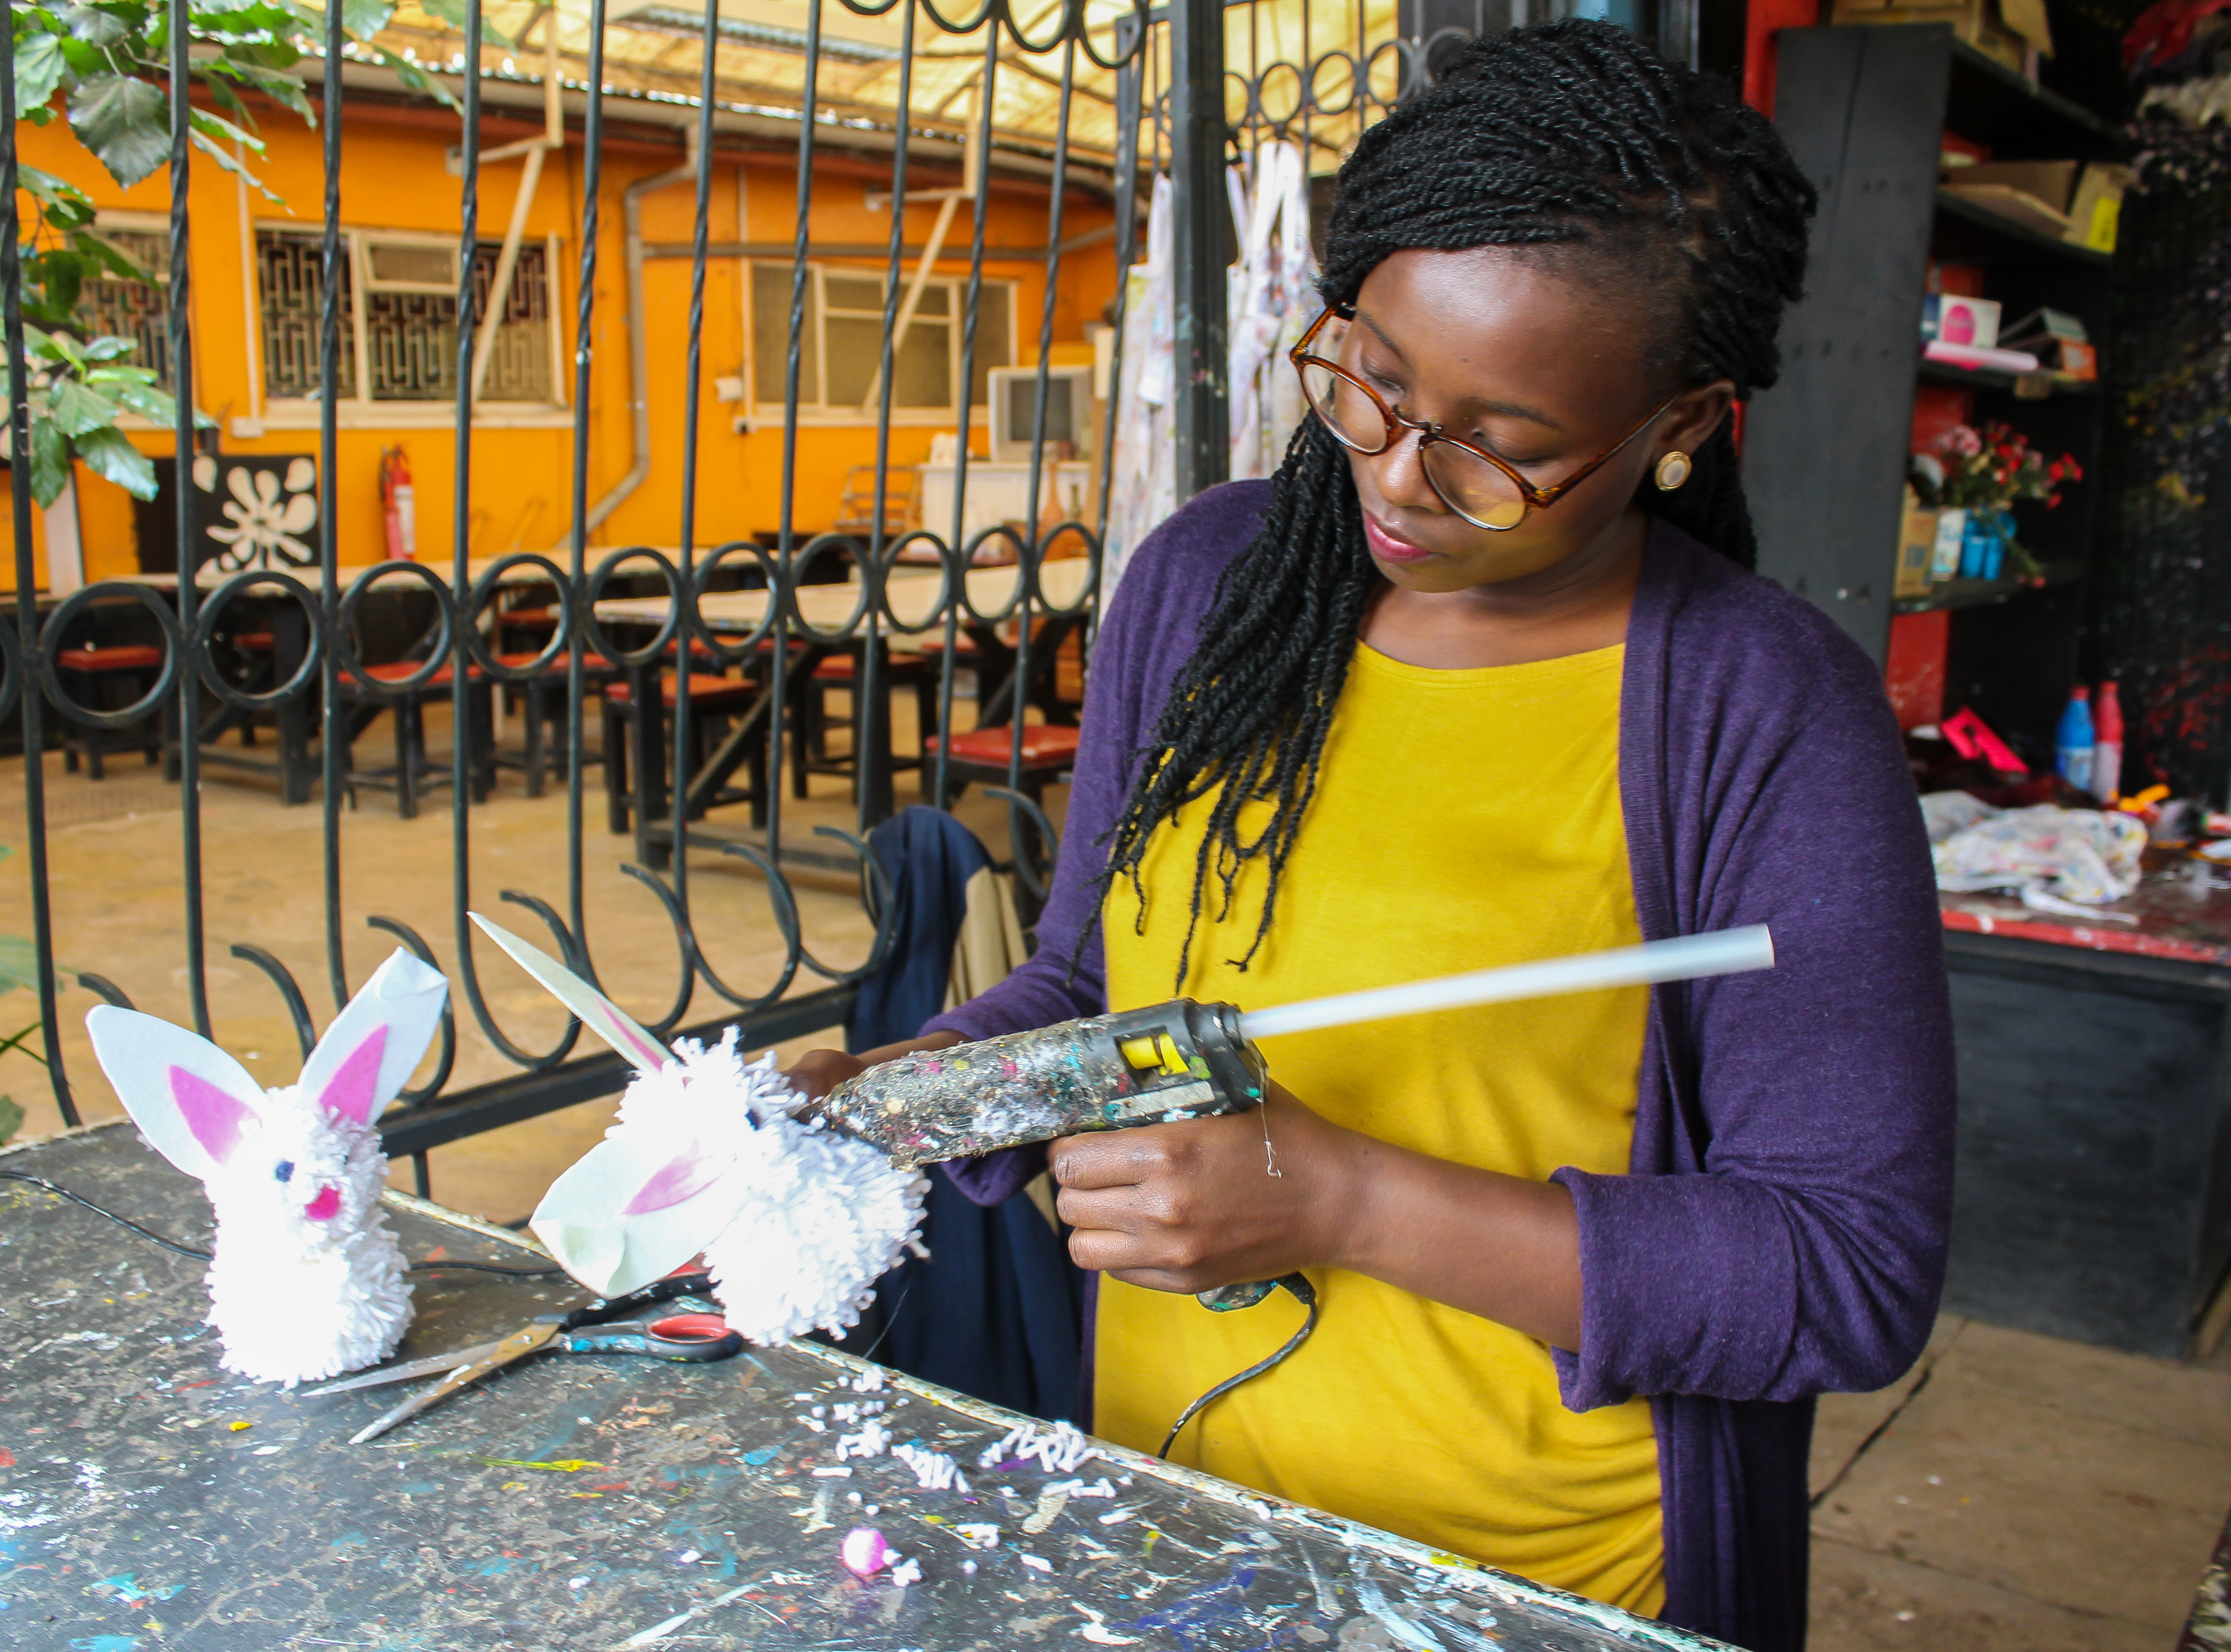
- Take a miniature coloured pom poms- pink/blue/red and use the glue to attach it to either side of the yarn bunny's head.
- Take a larger pom pom in the similar colour of the eyes and attach it to the backside of the bunny to form the tail.
Voila! You have your very own Easter bunny. You can fold up one of the ears to make it cute and you can also add some pom poms as claws or feet.